There are a lot of ways to clamp material to the wasteboard in a CNC machine. Some easy and quick others more complicated. In traditional machining you’d often use a nice and solid machine vise or bolt the parts in place using the T-track slots. The smaller cnc milling machines usually do not have either one of those. Luckily there are plenty other great options.
Here are four things that I found really helpful when using the cnc and clamping stuff in it:
Treaded inserts in the wasteboard
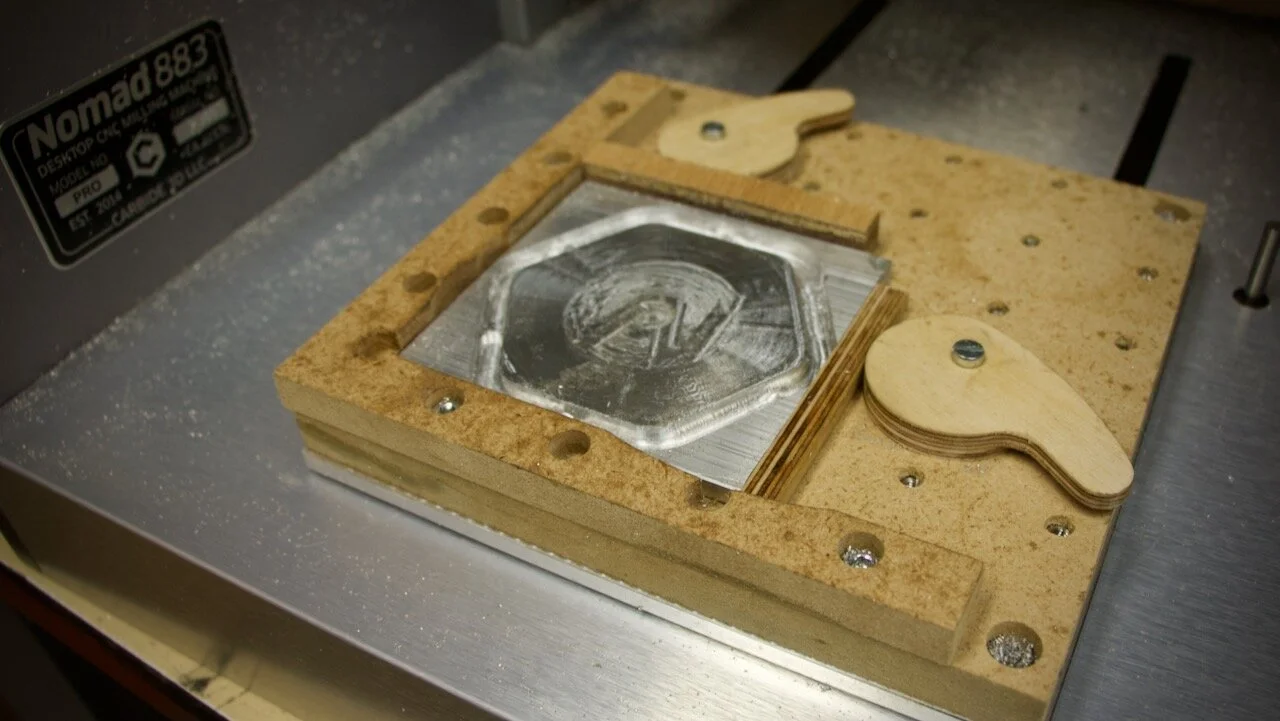
Having threaded inserts in the wasteboard opens up a whole lot of clamping opportunities. This grid of threaded holes can be used for the eccentric clamps, to bolt your part to directly and many more types of clamps work with this.
Having a defined zero
For anyone doing repetitive work, like engraving a bunch of signs this is an absolute game changer. Set your zero once, test your program. Now you know the program is good and you can just place the part, hit start and batch them out without worrying about the location anymore.
Using a simple mdf corner piece, made on the cnc, is all you need for this. *Do make sure to mount it straight though otherwise all your engravings will be on an angle.
Eccentric clamps to hold the piece
This one goes well with the previous two tips. The eccentric clamps just makes clamping really quick. Place your part in the corner you have made, turn the clamp 90 degrees and you are good to go.
This works best with easy to cut materials like wood or plastics.
The trick of all tricks: Painters tape and CA glue
You probably know that you can use double sided tape to stick parts to the wasteboard. I use this and it works well for parts that have a large surface area and are easy to cut. But when cutting aluminium it didn’t work well for me and the parts just started moving around a bit on the tape. Not what you want.
That’s where this comes in. It’s a bit more work but the result is worth it!
Degrease your partsStick painters tape on the part and on the wasteboard
Now simply use CA glue (superglue) to glue both sides of the painters tape together and fix the part to the board.
Hope this is helpful! Don’t forget: Dare to experiment and have fun creating!
